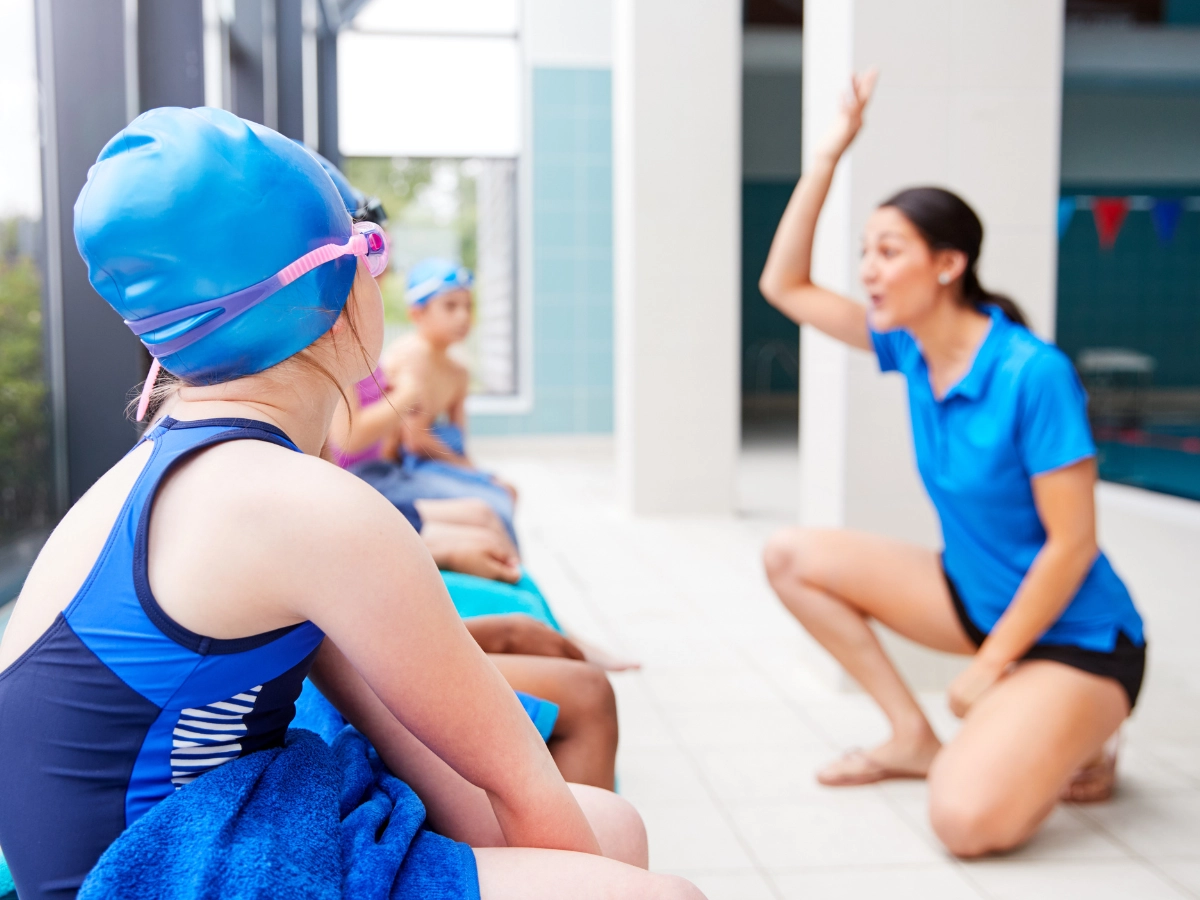

Choosing the right class management software to help you run your youth activity center can be challenging. It’s a process that takes time and energy. And let’s face it, we’re all running a little low on both these days.
At Jackrabbit, we believe that when you’ve found the perfect class management solution for your swim school, gymnastics gym or dance studio that the road to getting started should be easy. That’s why we’re breaking down the 5 basic steps you need to know in getting started with Jackrabbit Class.
How can I get started with Jackrabbit Class?
Whether you just hit buy now or you’re at the beginning of your 30-day free trial, our goal is to ensure that you have a speedy and smooth path to becoming a confident Jackrabbit user. That’s where Jackrabbit’s Quick Start Wizard comes in.
Using the Quick Start Wizard is the best way to get started with Jackrabbit Class. This 30-minute, five-step process is a convenient and intuitive tool for even the least technically savvy member of your staff to complete.
Hot tip: Before you keep reading, sign up for your 30-day free trial so you can follow along while getting set up.
Try Jackrabbit Class for 30 Days!
5 steps to getting started with Jackrabbit Class
Step 1: Import your data
If you are coming from another system or excel, you can import your data instead of entering it manually. This is a huge time-saver.
If you’re not comfortable with that, we have a team of experts at the ready to help you get any data you need exported from another system and moved into Jackrabbit at no additional cost. Yep, I said that.
It’s important during this step to add any team members, such as office staff or instructors who may be helping you behind the scenes.
Step 2: Complete some basic settings
Basic settings, huh? Could you be more vague?

Hear me out.
While this step collects a lot of information, it’s actually a breeze to complete. Here, you’ll add your company’s:
- Logo,
- Business address,
- Any additional locations,
- Tax information if you charge tax on tuition and
- Income categories
Let’s talk about income categories for a second. Here at Jackrabbit, we like to make sure you have nice and neat reports that show exactly how much revenue certain types of classes at your program are generating. For a gymnastics program, income categories may include: Beginners, Little Jumpers, Tumbling, Team, Recreational and Special Events, to name a few.
There’s no wrong way to set up your income categories, but you do want to think about it before diving in. If you’re unsure about this section, you can skip it and return at any time when you’re equipped with your program’s income category strategy.
Step 3: Class Set up
During this step, you’ll enter instructors and coaches, sessions and classes. Let’s take a deeper look at each section in this step.
Instructors and Coaches
To set up your class schedule, you’ll need to enter your team of instructors and coaches. Do you plan to teach? Don’t forget to add yourself as well!
Sessions
A session is a customizable point in time during which classes at your facility are offered. Examples include: Spring, Summer, Fall or Session 1, Session 2, etc..
Classes
This is where all the action happens! After adding your classes, the Jackrabbit Quick Start Wizard automagically preps your class data to allow for online registration via your website. Pretty awesome, right?
I can’t go on without recommending that you keep class naming consistent and that each class include a class name, time and day.
Step 4: Online Registration Set up
In this step you’ll set up online registration to allow new customers to sign up for classes at your program online. Hello, convenience!
We know that every swim school, gymnastics gym, dance studio and youth program has legal policies, or waivers that your customers must agree to. This step in the Jackrabbit Quick Start Wizard allows you to add agreements so that new customers must agree to any and all legalese prior to registering as a student.
Now’s a great time to point out that if you have to take a break during any step of the Quick Start Wizard, you have the ability to pick back up right where you left off without having to repeat any of the previous steps.
Step 5: Setup your Parent Portal
We’re almost there! In this final step, you’ll set up your Parent Portal to allow existing customers to sign up for classes at your program and manage their account online.
The Jackrabbit Parent Portal allows your existing customers to update their contact information, view any fees and payments on their account, enroll in additional or upcoming classes, make payments and so much more.
There you have it. You just completed the five steps to getting started with Jackrabbit Class. Move over Chip and Joanna, there’s a new do-it-yourself expert in town- You!
Getting started with Jackrabbit Class: What comes next?
When you’re done with the Jackrabbit Quick Start Wizard, you’ll be well on your way to streamlining the day-to-day business operations so that you can get back to doing what you love- teaching children.
To become the best version of a Jackrabbit Class user, I couldn’t recommend connecting with your own, personal Jumpstart Coach more. This quick and easy phone call is designed to answer any remaining questions you may have about the set-up process and help you maximize the entire Jackrabbit system based on your business goals.
Are you ready to get started with Jackrabbit Class? Start your 30-day Free Trial and start tackling these five steps today!