Why You Should and How You Do It
Most internet browsers offer a way to save frequently entered information, such as your full name, address, credit card number, etc., and use that information to automatically fill in fields which require that same information, possibly on a different website.
While it might seem convenient, the autofill feature of browsers is a potential privacy as well as a security risk. It has been proven that autofill reveals not only the information that you see the fields for, but it will also fill in information for invisible fields — and you end up sharing more than you think you are.
Disabling this option enhances your privacy by preventing sensitive information from being saved or used in the browser that you use on your computer. You will also want to be sure to clear out any information that may have already been saved to autofill.
We have brought together instructions on how to disable and clear autofill in the browsers Jackrabbit supports. Bookmark this page so you can quickly return to it. If you Google “disabling autofill” you will end up reading several entries to get the scoop on all the popular browsers!
Google Chrome
Turn Off Autofill in Chrome
- Open the Google Chrome browser.
- Click Customize and control Google Chrome menu (3 vertical dots) in the upper right-hand corner of the browser window.
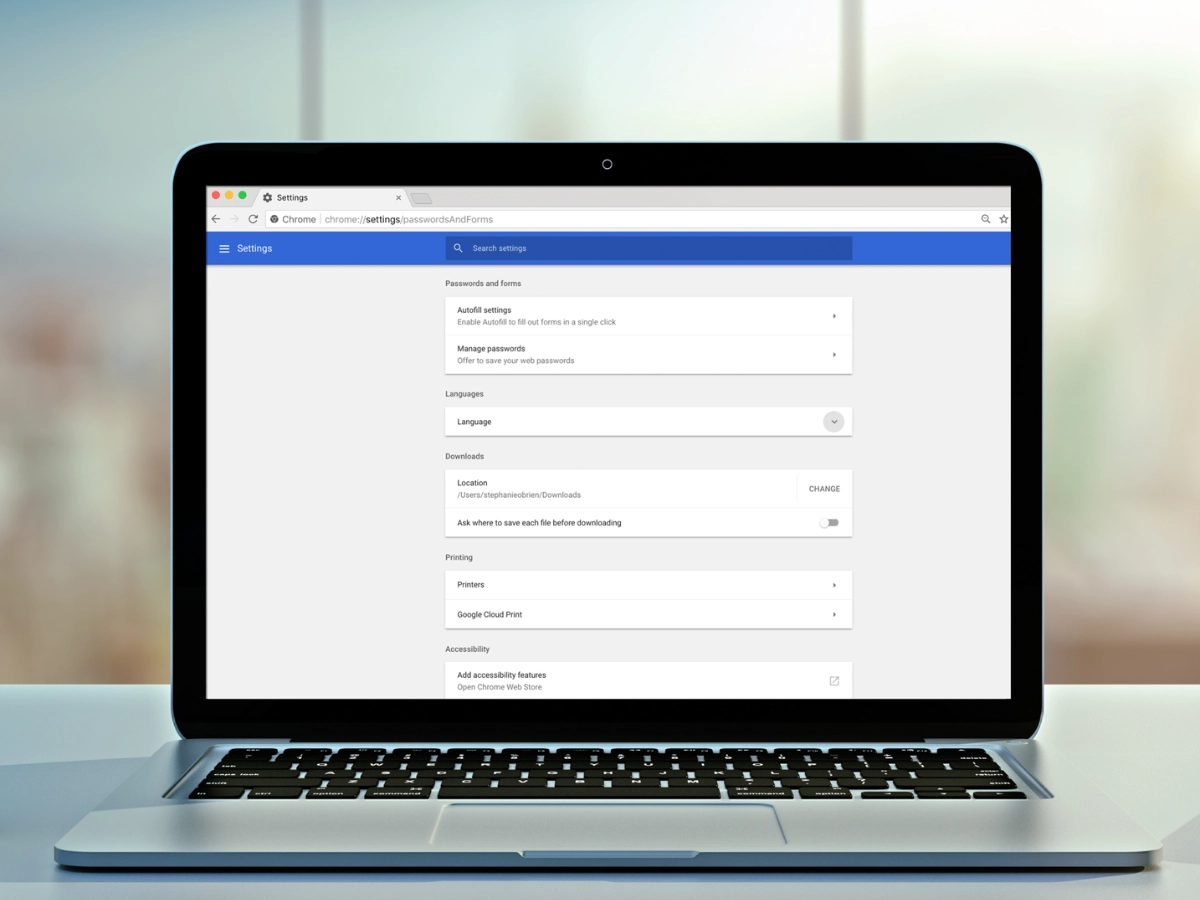
- From the drop-down menu, select Settings.
- Scroll to the bottom of Settings and click Advanced.
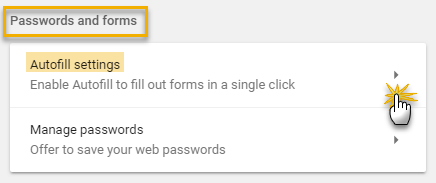
- In the Passwords and forms section, click the arrow in the Autofill settings box.

- In the Autofill settings menu, ensure that the Autofill forms toggle slider set to off position (gray).

Clear Autofill Data in Chrome
- Open the Google Chrome browser.
- Click Customize and control Google Chrome menu (3 vertical dots) in the upper right-hand corner of the browser window.
- From the drop-down menu, select More tools.
- Select Clear browsing data.
- Set the Time range to All time.
- Select Browsing history, Cookies and other site data, and Cached images and files and click CLEAR DATA.
Mozilla Firefox
Turn Off Autofill in Firefox
- Open the Mozilla Firefox browser.
- Click on the Firefox menu (3 vertical lines) in the upper right-hand corner of the browser window.
- From the drop-down menu select Options.
- Select Privacy & Security.
- In the History section choose Firefox will Use custom settings for history.
- Clear the Remember search and form history checkbox.
Clear Autofill Data in Firefox
- Open the Mozilla Firefox browser.
- Click on the Firefox menu (3 vertical lines) in the upper right-hand corner of the browser window.
- From the drop-down menu select Options.
- Select Privacy & Security.
- In the History section click Clear History.
- Set the Time range to clear to Everything.
- Click Clear Now.
Microsoft Internet Explorer
Turn off Autofill in Internet Explorer
- Open the Microsoft Internet Explorer browser.
- Click on the Tools menu (gear icon) in the upper right-hand corner of the browser window.
- From the drop-down menu select Internet Options.
- Select the Content tab.
- Click Settings in the AutoComplete section.
- Clear the checkboxes for Forms and Searches and User names and passwords on forms.
- Click OK.
Clear Autofill Data in Internet Explorer
- Open the Microsoft Internet Explorer browser.
- Click on the Tools menu (gear icon) in the upper right-hand corner of the browser window.
- From the drop-down menu select Safety and then Delete Browsing History.
- In addition to the checkboxes selected as defaults, select the checkbox for Form data.
- Click Delete.
Microsoft Edge
Turn Off Autofill in Edge
- Open the Microsoft Edge browser.
- Click on the Settings and more menu (3 horizontal dots) in the upper right-hand corner of the browser window.
- From the drop-down menu select Settings.
- Scroll down to Advanced settings and click the View advanced settings button.
- In the Privacy and services set Save form entries to the off position (grayscale).
Clear Autofill Data in Edge
- Open the Microsoft Edge browser.
- Click on the Settings and more menu (3 horizontal dots) in the upper right-hand corner of the browser window.
- From the drop-down menu select Settings.
- Click the Choose what to clear button under Clear browsing data.
- In addition to the checkboxes selected as defaults, select the checkbox for Form data.
- Click Clear.
Apple Safari
Turn Off Autofill in Safari
- Open the Safari browser.
- Click on the Safari menu and select Preferences from the drop-down options.
- In the following screen, select Autofill. You should now see a window with a number of options enabled for the autofill feature.
- Uncheck all the options to completely disable autofill.
Clear Autofill Data in Safari
- Open the Safari browser.
- Click on the Safari menu and select Preferences from the drop-down options.
- In the following screen, select Autofill. You should now see a window with a number of options enabled for the autofill feature.
- Click the Edit button next to an option and then click on the Remove All button.


