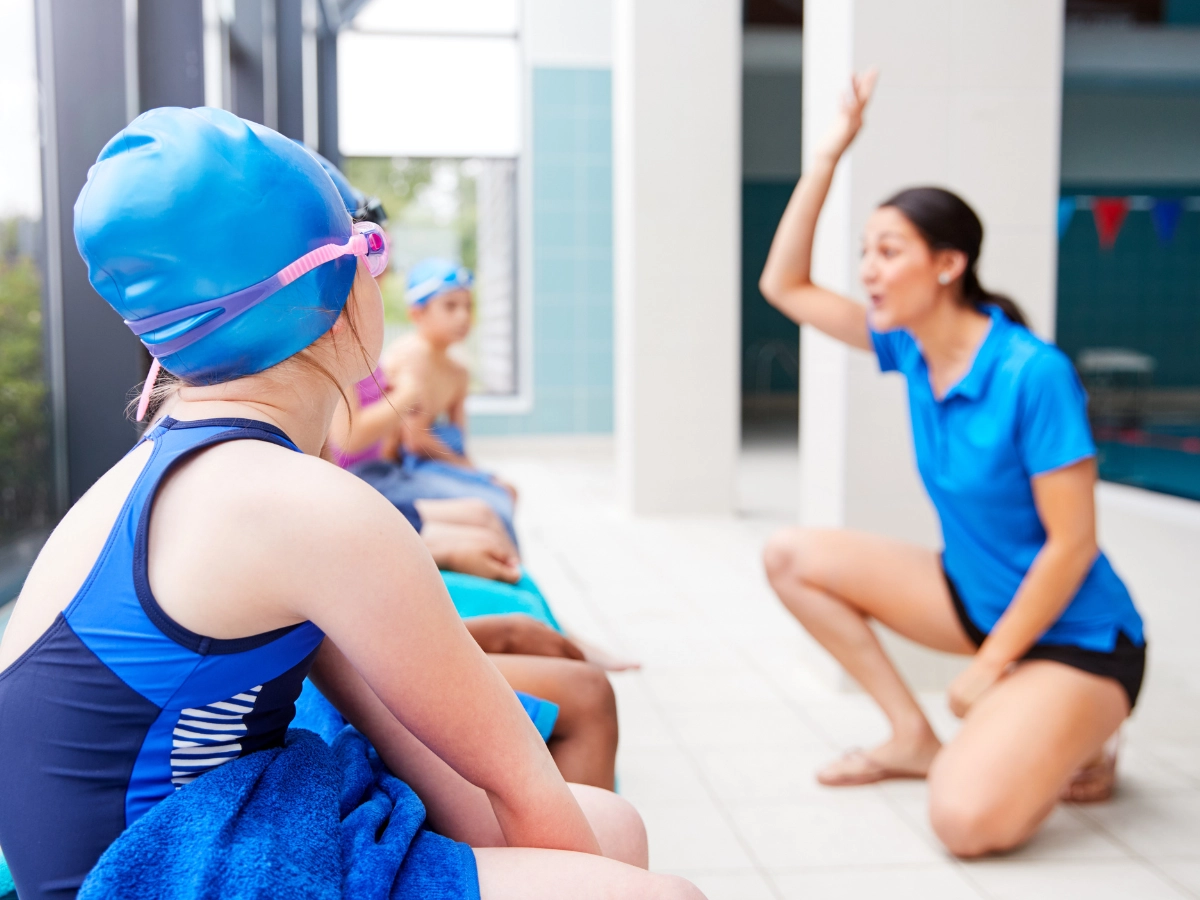

6 Gymnastics Moves for Beginners to Master
When it comes to gymnastics, there are many skill levels. With newer students, it is beneficial to start at the basics and work your way up. So, what are the basics? Here are six moves we think can create a foundation for your gymnastics students and provide the knowledge needed to learn advanced moves.
1. Forward Roll
A forward roll is one of the most basic gymnastics moves. It is not only a building block for other moves but often what a gymnast will fall back on if they make a mistake and need to dismount safely.
The starting body position for a forward roll is upright, with feet together and hands reaching forward. Tuck your chin and as you roll, focus on having your shoulders make contact with the floor, not the head. The key to this move is looking at your belly button as you roll and staying tucked until your feet make contact with the floor after the roll.
2. Cartwheel
A cartwheel is often a young gymnast’s introduction to more difficult moves. It is one that has levels. Start with a baby cartwheel and work on repetition until you can do a full cartwheel.
To start, stand up straight with your hands above your head in the air. Place one foot in front of the other, almost in a half-lunge position. Lean forward and place your hands on the ground turned 90 degrees. Then, kick your feet over your head one at a time. When landing, land in the same position that you started in with one foot slightly in front of the other and your arms in the air.
3. Backward Roll
A backward roll is one of the best ways to get gymnasts comfortable with the backward movement and not being able to see the floor behind them. It is the base for more advanced skills like back walk-overs, back handsprings, and back tucks variations.
To start, stand with your feet close together and come into a crouched position with your knees tucked. Place your hands on your shoulders, palms facing up, and begin to roll your spine backward into a curved position. Roll until your upper back and hands make contact with the mat. Press your hands into the mat, tuck your chin into your chest, and bring your feet, then your hips, overhead. As your feet come into contact with the mat again, pull yourself back into the tuck position you began in and finish the move in a standing position.
4. Handstand
For some, handstands might seem scary. That’s why this is another gymnastics move that has levels. Many gymnasts start by leaning on a vertical surface, usually walls, to get comfortable with the upside-down position.
Starting with a wall, sit on the floor facing away from the wall and place your hands on the ground in front of you. Your hands should be shoulder-width apart with your fingers spread evenly. Put your feet on the base of the wall behind you and slowly start walking them up the wall. Once you get to where you can make a 90-degree angle with your body you can start to practice lifting one leg off the wall at a time to mimic a handstand position.
When you’re comfortable lifting one leg at a time into the handstand position, work towards extending both legs straight into the air. Stay close to the wall so you can put your feet back if you feel unstable. Another option is to dismount in a cartwheel-like motion. The more comfortable you get, the more mobile your handstand is. Before you know it, you will be able to do a handstand anytime, anywhere!
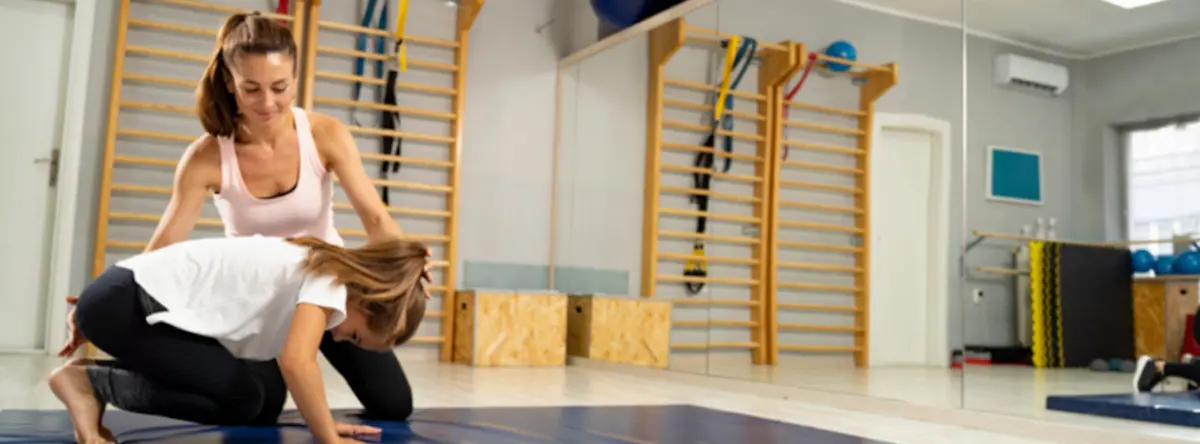
5. Bridge Pose
A bridge, also sometimes called a back bend, is one of the more advanced beginner moves and is fundamental to some more advanced moves. To start, lay on your back and place your hands next to your ears, palms down on the mat. Both your elbows and knees should be bent and pointed toward the ceiling. Start to lift your hips up and push down on the mat with your hands and feet. Your body should form a c shape. Slowly work towards straight arms and straight legs.
6. Back Bend/Back Bend Kick Over
Once you have perfected a bridge pose, you are ready to try a back bend and a back bend kick over. The difference between the two is that a back bend starts from a standing position. When starting out, ask your friend or coach to be your spotter. They can help you lower into a back bend.
Start out in a standing position with your spotter’s hands on your lower back and stomach. Bring your hands above your head and begin bending backward, slowly lowering your hands to the ground behind you. When done correctly, you will be in the bridge position when both your feet and hands touch the ground.